
If you’ve configured a Debian 12 system in virt-manager and want to install it on real hardware, this guide shows how to transfer the VM image to a USB stick and boot it on a physical machine.
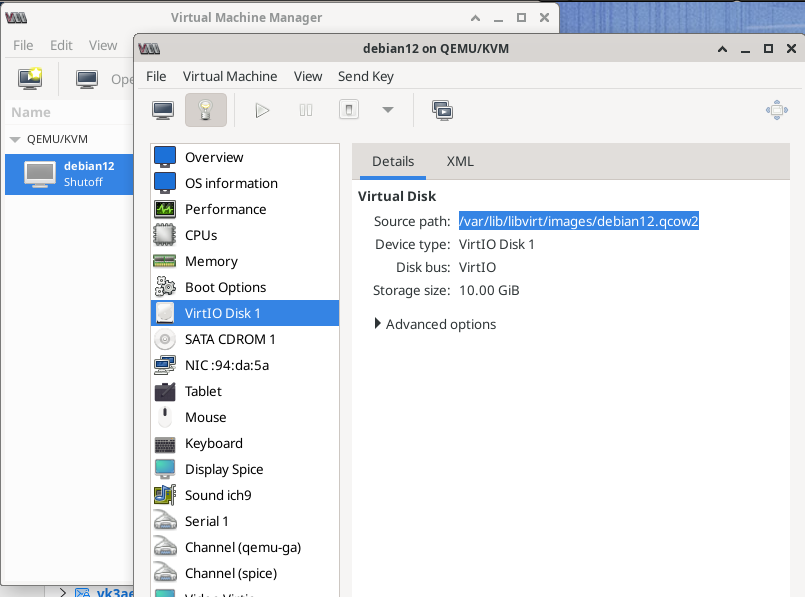
🔧 Step 1: Locate Your VM Disk Image
Open a terminal and list your virtual machines (system-wide):
sudo virsh list --all
Then get the disk path:
sudo virsh dumpxml <vmname> | grep .qcow2
You should see something like:
<source file='/var/lib/libvirt/images/debian12.qcow2'/>
Alternatively, if the VM was created in user session mode, look here:
~/.local/share/libvirt/images/
🔄 Step 2: Convert the Image to Raw Format
Most VM disks use qcow2 format. To write it to a USB stick, convert it to raw:
qemu-img convert -f qcow2 -O raw debian12.qcow2 debian12.raw
To check the format:
qemu-img info debian12.qcow2
💾 Step 3: Write to USB (Be Careful!)
- Plug in your USB stick and identify it:
lsblk - Write the raw image to the entire USB device (⚠️ this erases it completely):
sudo dd if=debian12.raw of=/dev/sdX bs=4M status=progress oflag=syncReplace/dev/sdXwith your USB device (e.g.,/dev/sdb, not a partition like/dev/sdb1).
🚀 Step 4: Boot the Physical Machine
- Insert the USB into your target machine.
- Boot from USB in BIOS/UEFI.
- Debian should start up as if it were running inside the VM.
🛠️ Optional: Install to Internal Disk
If you want to move from USB to the internal disk:
sudo dd if=/dev/sdX of=/dev/sdY bs=4M status=progress
/dev/sdX= USB stick/dev/sdY= internal drive (check carefully!)
🧹 Post-Migration Tips
- Reinstall GRUB (recommended):
sudo grub-install /dev/sdY sudo update-grub - Check
/etc/fstabfor UUID mismatches. - Reconfigure networking if device names changed (e.g.,
eth0vsens3).
✅ Summary
This method gives you a quick and direct way to move a virtualized Debian system onto real hardware — ideal for system prototyping, quick deployment, or cloning a lab setup.